

Starlink, developed by SpaceX, is a cutting-edge satellite internet “Constellation” designed to provide high-speed internet access across the globe. By leveraging low-Earth orbit (LEO) satellites, Starlink aims to deliver broadband services to even the most remote areas, offering numerous benefits such as improved connectivity, reduced latency, and greater accessibility.
However, with the expansion of this network comes the critical need to secure it against cyber threats. Proper security measures are essential to protect your data and maintain the integrity of your connection. This guide will cover detailed steps to effectively secure your Starlink network.
Router Security
Change Default Passwords
Importance of Changing Default Passwords
Default passwords are often easy targets for cybercriminals as they are widely known and rarely changed by users. Leaving these default settings in place significantly increases the risk of unauthorized access to your network.
How to Change Default Passwords
- Access Router Settings: Connect to your Starlink network and open a web browser. Enter the router’s IP address (typically something like 192.168.1.1) in the address bar to access the router’s admin interface.
- Login with Default Credentials: Use the default username and password to log in. These can usually be found in the router’s manual or on a label on the router itself.
- Navigate to Password Settings: Locate the section of the interface where you can change the admin password. This is often found under ‘Administration’ or ‘Settings’.
- Create a Strong Password: Use a combination of uppercase and lowercase letters, numbers, and special characters. Avoid common words or phrases.
- Save and Log Out: Save the new settings and log out of the admin interface.
Enable WPA3 Encryption
What is WPA3?
WPA3 (Wi-Fi Protected Access 3) is the latest and most secure wireless encryption standard. It improves upon WPA2 by providing stronger data protection and making it harder for attackers to crack passwords.
Steps to Enable WPA3 Encryption
- Log into the Router’s Admin Interface: Follow the steps mentioned above to access the router settings.
- Find the Wireless Security Settings: Navigate to the ‘Wireless’ or ‘Security’ tab in the settings menu.
- Select WPA3: Change the security mode to WPA3-Personal.
- Save Changes: Apply the new settings and restart the router if necessary.
Firmware Updates
Importance of Keeping Firmware Up-to-Date
Firmware updates are crucial for maintaining the security and performance of your Starlink router. They often contain patches for known vulnerabilities, improvements to existing features, and sometimes new functionalities that enhance security.
How to Check for and Install Updates
- Access the Router’s Admin Interface: Follow the steps mentioned above to log in.
- Locate the Firmware Update Section: This can typically be found under ‘Maintenance’, ‘Firmware’, or ‘Update’.
- Check for Updates: Click the button to check for the latest firmware version available.
- Download and Install: If an update is available, follow the on-screen instructions to download and install it. The router may restart during this process.
Strong Wi-Fi Passwords
Creating a Complex and Secure Password
Why Strong Passwords Matter
A strong password is a critical component of network security. Weak passwords can be easily guessed or cracked by attackers using brute-force techniques.
Characteristics of a Strong Password
- Length: Aim for at least 12-16 characters.
- Complexity: Use a mix of uppercase and lowercase letters, numbers, and special characters.
- Uniqueness: Avoid using common phrases, names, or easily guessable information like birthdays.
- Avoid Dictionary Words: Using random combinations of characters is more secure than using dictionary words.
Best Practices for Password Management
- Use a Password Manager: Tools like LastPass, 1Password, or Bitwarden can generate and store complex passwords securely.
- Change Passwords Regularly: Regularly updating your passwords reduces the risk of them being compromised.
- Avoid Reusing Passwords: Use different passwords for different accounts and devices to prevent a single breach from compromising multiple services.
Network Segmentation

Benefits of Segmenting Your Network
Network segmentation involves dividing your network into multiple smaller segments or subnets. This approach limits the spread of malware and makes it more difficult for attackers to move laterally across your network.
Enhanced Security
By isolating devices, you reduce the risk of an infected device compromising the entire network.
Improved Performance
Segmentation can also improve network performance by reducing congestion and managing traffic more efficiently.
Steps to Create Guest and Separate Networks
- Access the Router’s Admin Interface: Follow the steps mentioned above to log in.
- Navigate to Wireless Settings: Find the settings related to your Wi-Fi network.
- Enable Guest Network: Many routers have an option to create a guest network. Enable this feature and configure it with its own SSID and password.
- Set Up VLANs (Virtual LANs): For more advanced segmentation, you can create VLANs to isolate different types of devices. This may require additional configuration and hardware.
Firewalls and Additional Security Features
Enabling Router Firewalls
What is a Firewall?
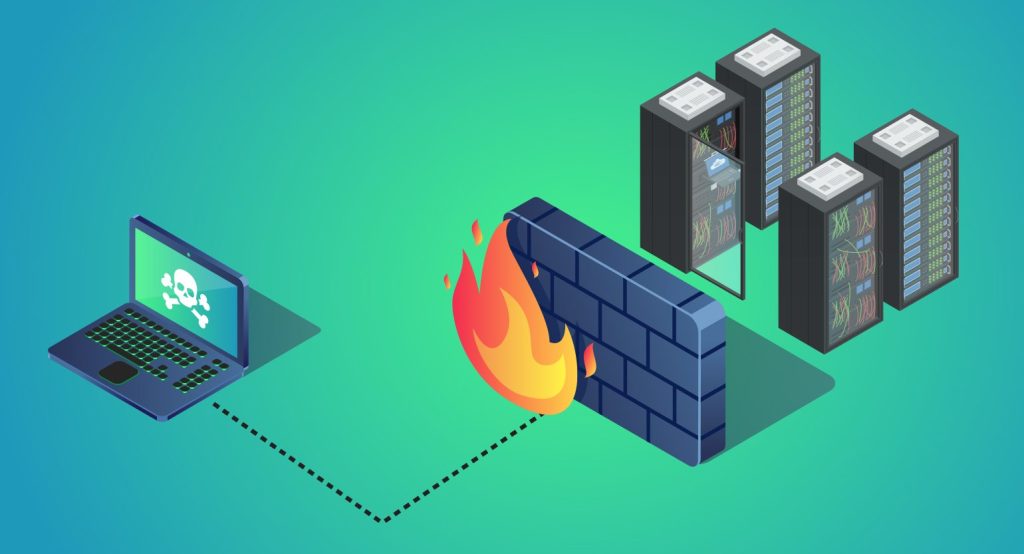
A firewall monitors and controls incoming and outgoing network traffic based on predetermined security rules. It acts as a barrier between a trusted internal network and untrusted external networks.
How to Enable Firewall on Your Router
- Access the Router’s Admin Interface: Follow the steps mentioned above to log in.
- Navigate to Security Settings: Find the section related to security or firewall settings.
- Enable Firewall: Turn on the firewall feature and configure it according to your needs.
- Save and Apply: Save the settings and ensure they are applied correctly.
Using Additional Security Features
MAC Address Filtering
This feature allows you to specify which devices can connect to your network based on their MAC addresses.
- Locate MAC Address Filtering: In the security settings, find the MAC address filtering section.
- Add Approved Devices: Enter the MAC addresses of your devices to create an approved list.
- Enable Filtering: Turn on MAC address filtering to restrict network access to listed devices only.
Disable Unnecessary Features
Disable Remote Management
Risks of Remote Management
Remote management features can be exploited by attackers to gain control of your router. Disabling these features reduces the attack surface of your network.
How to Disable Remote Management
- Access the Router’s Admin Interface: Follow the steps mentioned above to log in.
- Find Remote Management Settings: Navigate to the section related to remote management.
- Disable the Feature: Turn off remote management and save the settings.
Turn Off WPS (Wi-Fi Protected Setup)
Why Disable WPS?
WPS is vulnerable to brute-force attacks, making it a security risk. Disabling WPS protects your network from such exploits.
How to Turn Off WPS
- Access the Router’s Admin Interface: Follow the steps mentioned above to log in.
- Navigate to WPS Settings: Find the WPS section under wireless settings.
- Disable WPS: Turn off WPS and save the changes.
Using a VPN

Benefits of a Virtual Private Network
A VPN (Virtual Private Network) encrypts your internet traffic, making it difficult for anyone to intercept and read your data. Using a VPN in conjunction with your Starlink network adds an extra layer of security, particularly when accessing public Wi-Fi networks.
Choosing a Reputable VPN Service
Key Features to Look For
- Strong Encryption: Ensure the VPN uses strong encryption standards like AES-256.
- No-Logs Policy: Choose a provider that does not keep logs of your activity.
- Reliable Performance: Opt for a service with fast and reliable connections.
- Wide Server Coverage: Look for a VPN with servers in multiple countries to ensure better performance and access to content.
Popular VPN Providers
- NordVPN: Known for its strong security features and extensive server network.
- ExpressVPN: Offers high-speed connections and robust privacy protections.
- CyberGhost: User-friendly interface with a focus on security and privacy.
Monitoring and Alerts
Regularly Checking Network Activity
Monitoring your network activity helps you detect any unusual behavior that might indicate a security breach. This proactive approach can prevent potential attacks.
Tools for Monitoring Network Activity
- Router Logs: Access the logs via your router’s admin interface to review past activity.
- Network Monitoring Software: Use tools like Wireshark, NetSpot, or GlassWire to analyze traffic in real time.
Setting Up Alerts for Suspicious Activity
Many routers and security software solutions allow you to set up alerts for suspicious activity. These alerts can notify you of potential threats, enabling you to take swift action.
How to Set Up Alerts
- Access Security Settings: Log into your router or security software.
- Configure Alerts: Set up alerts for specific events, such as multiple failed login attempts or unknown devices connecting to your network.
- Review and Respond: Regularly review these alerts and take appropriate action to secure your network.
Educating Users
Teaching Household Members About Security
Everyone who uses your Starlink network should understand the importance of security. Educating household members helps create a culture of security awareness.
Key Topics to Cover
- Recognizing Phishing: Teach users how to identify phishing emails and avoid clicking on suspicious links.
- Password Best Practices: Encourage the use of strong, unique passwords and the importance of regular updates.
- Safe Browsing Habits: Promote the use of secure websites (HTTPS) and caution when downloading files or software.
Recognizing Phishing and Other Threats
Phishing attacks are a common method used by cybercriminals to steal sensitive information. Educate users on how to spot phishing attempts and what actions to take if they encounter a suspicious message.
Signs of a Phishing Attempt
- Unusual Sender: Emails from unfamiliar sources or addresses that mimic legitimate ones.
- Suspicious Links: Links that do not match the official website or use misleading domains.
- Urgent Requests: Messages that create a sense of urgency, urging you to take immediate action.
Final Words
Securing your Starlink network is essential to protect against cyber threats and ensure the reliability of your internet connection. By implementing these best practices—securing your router, keeping firmware up-to-date, using strong passwords, segmenting your network, enabling firewalls, disabling unnecessary features, using a VPN, monitoring activity, and educating users—you can significantly enhance the security of your network and safeguard your personal information.